Inviting Team Members
Learn how to invite new team members to your workspace.
Grow your team by inviting colleagues to collaborate on campaigns and projects. Team members receive an email invitation and can join your workspace with the role you assign.
Only Owner and Admin can invite team members.
Before You Invite
Check your seat availability before inviting. Every workspace has a seat limit based on your subscription plan.
To check available seats:
- Navigate to Settings > Workspace > Team
- Look for Seats (X/Y) at the top - this shows used seats out of total available
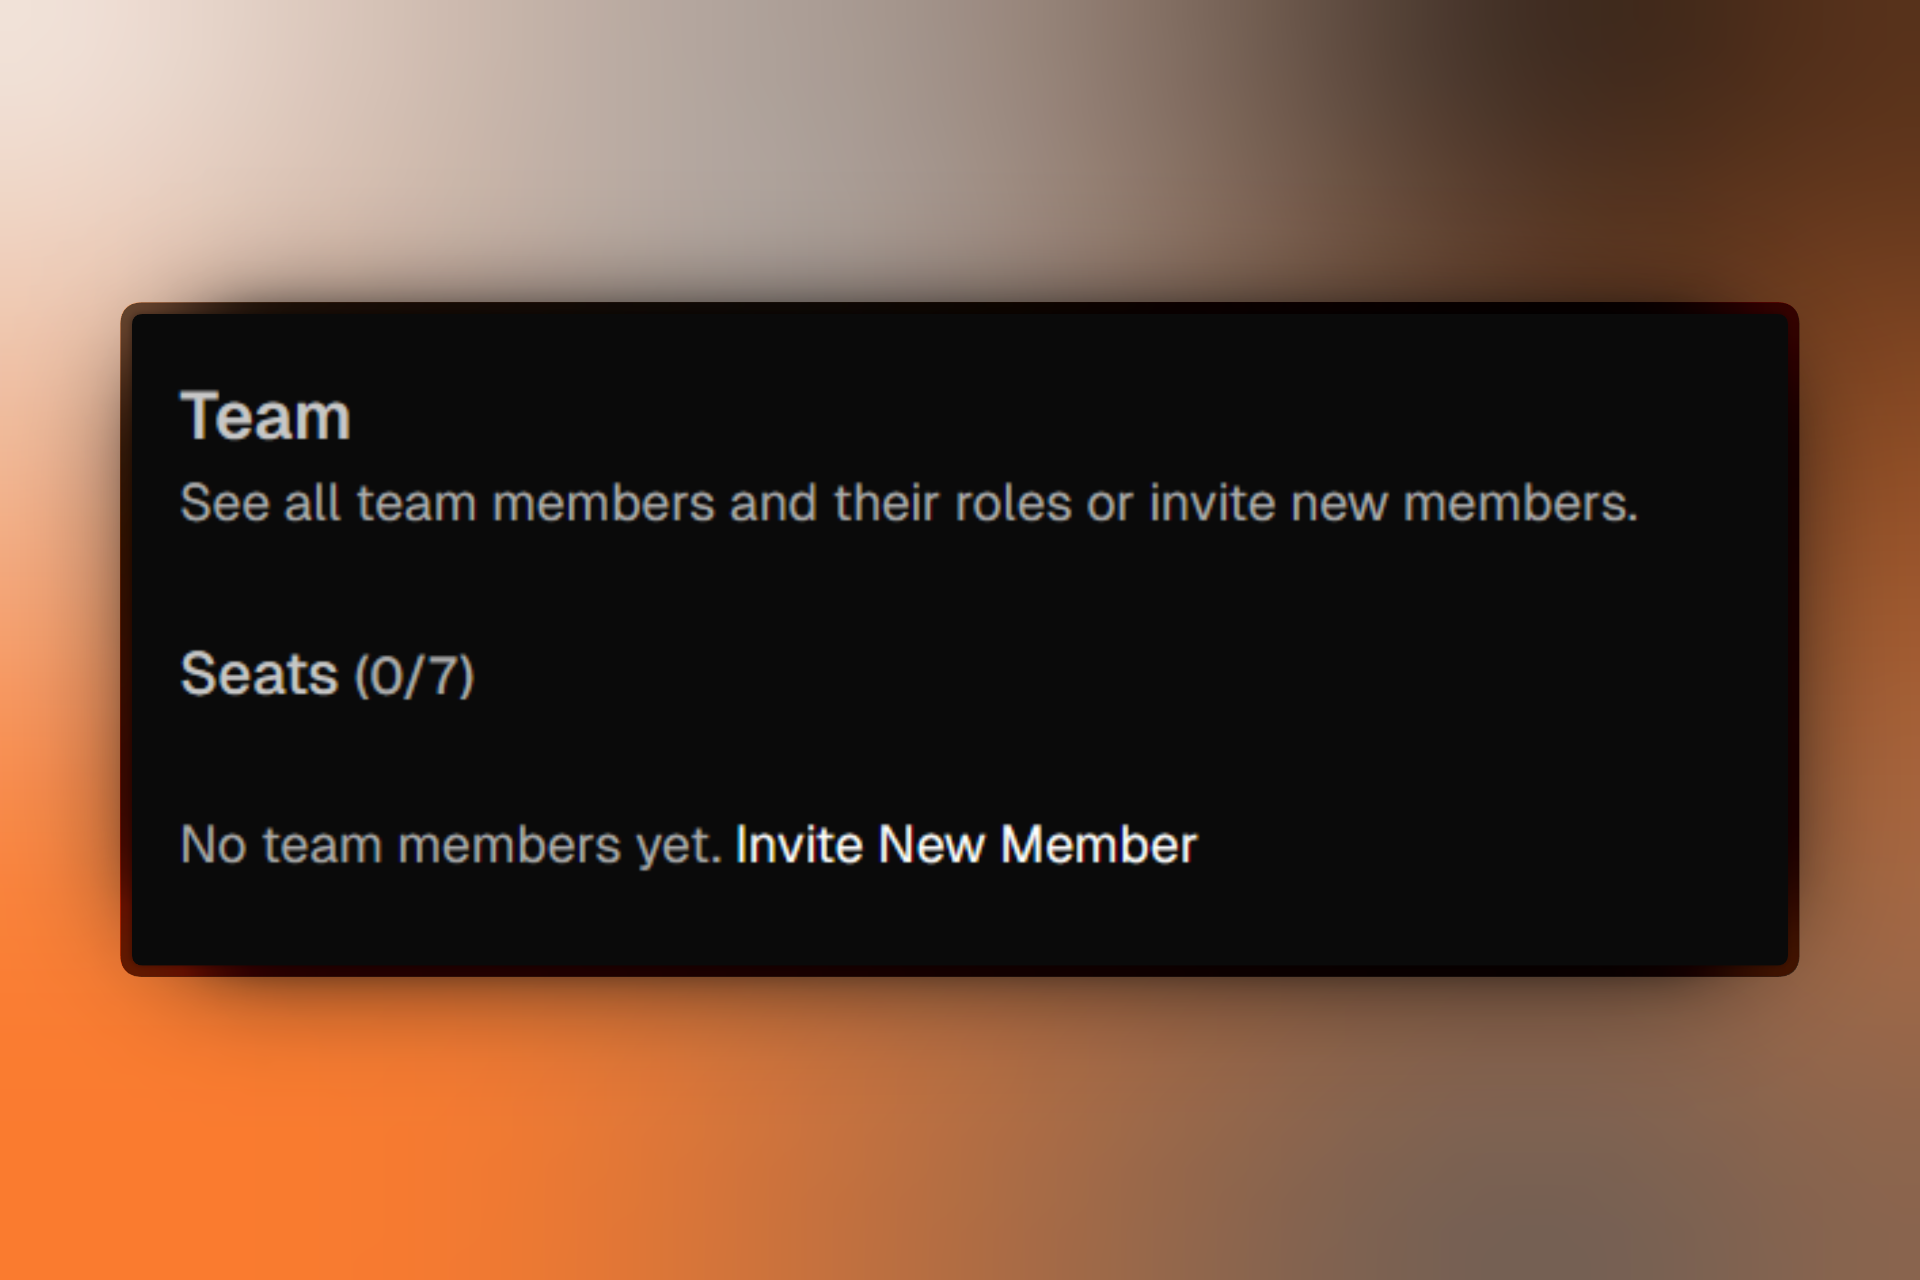
You cannot invite new members if you have reached your seat limit. Purchase additional seats or remove inactive members.
Sending an Invitation
- Go to Settings > Workspace > Team
- Click Invite Member⌘N
- Fill in the invitation form:
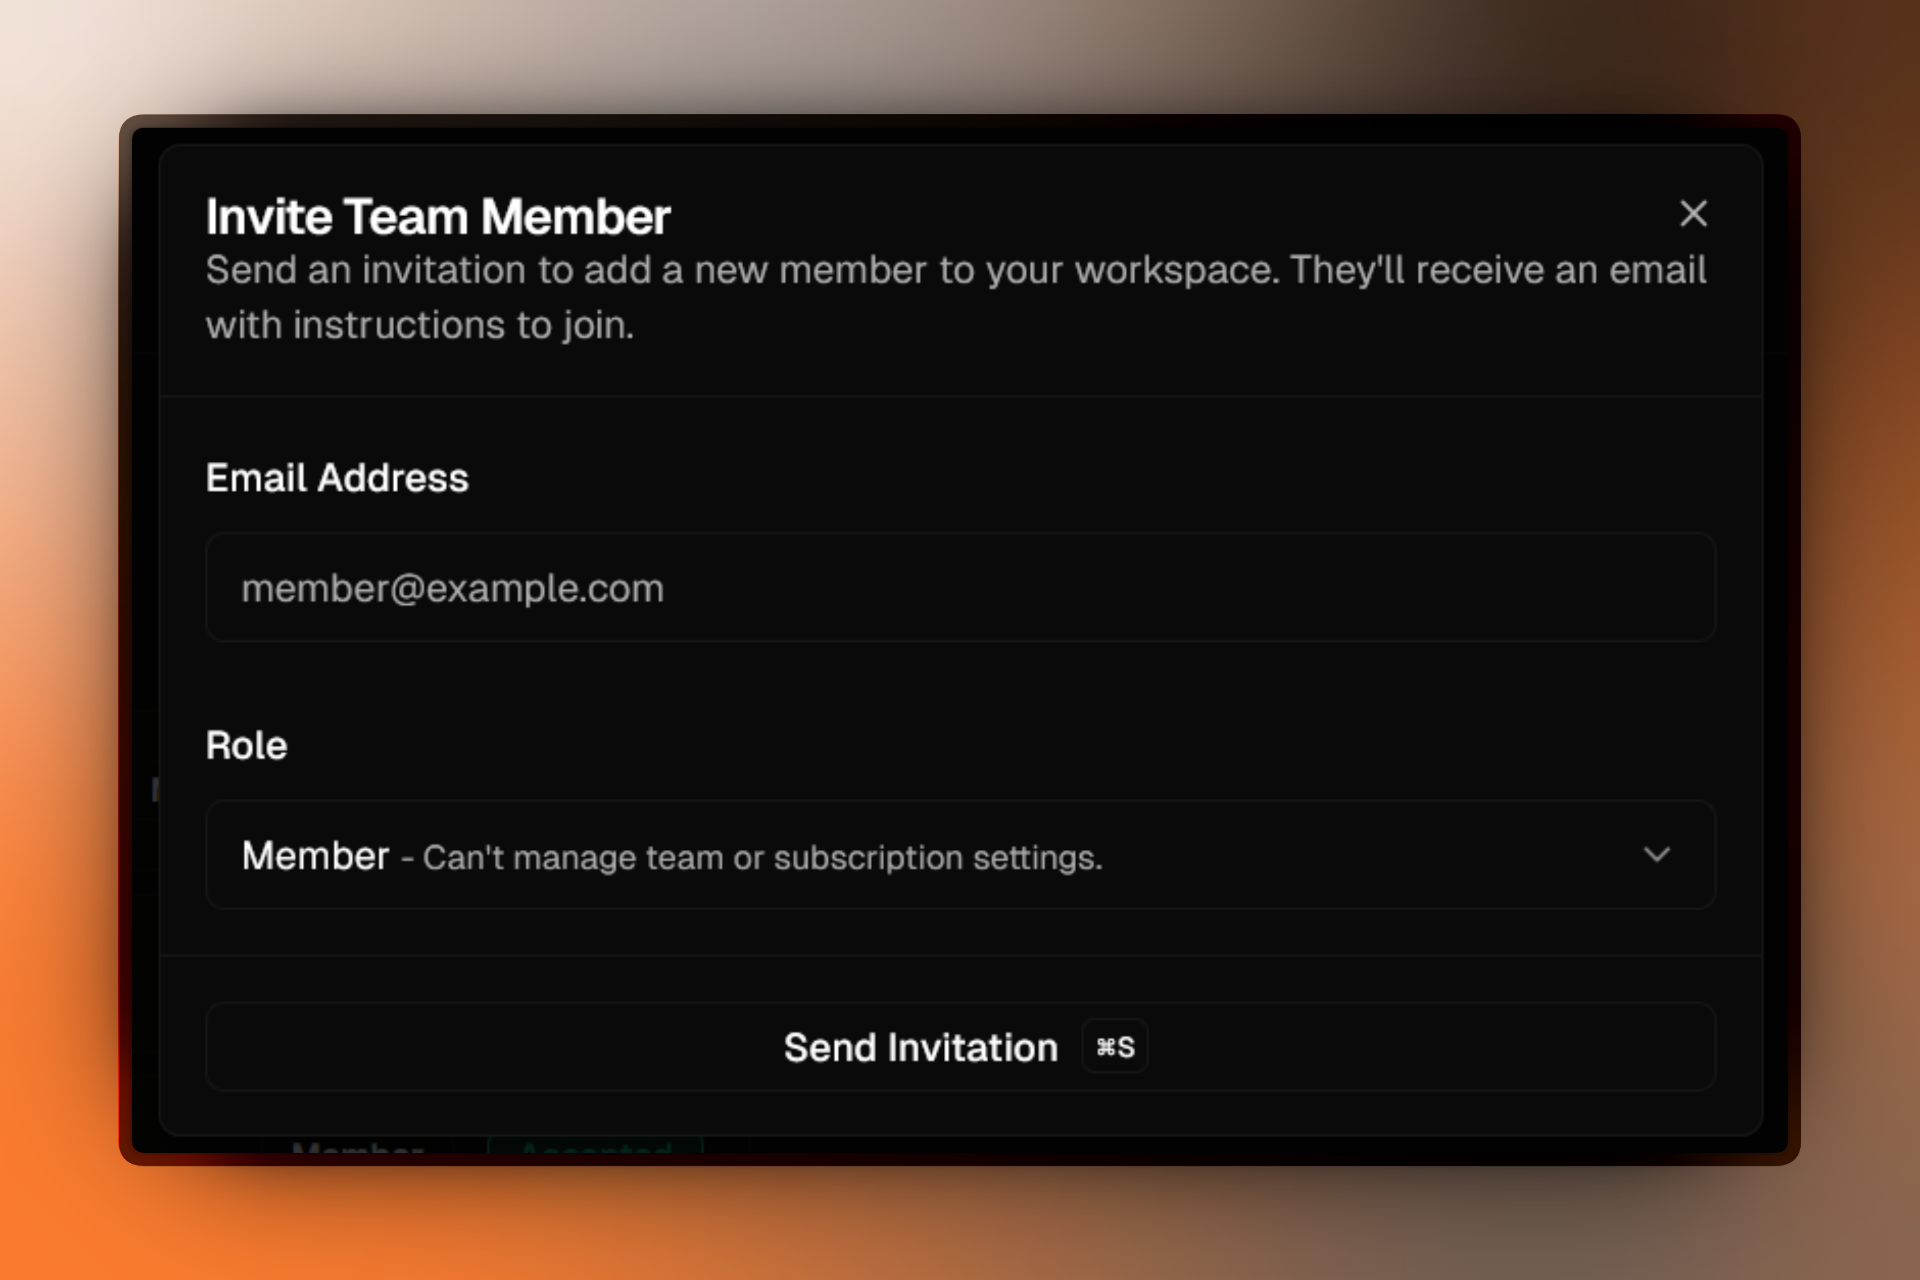
- Click Send Invitation⌘S
The invited user receives an email with a link to join your workspace.
Understanding Roles
When inviting, you must assign a role:
Admin
Full workspace access. Can manage team, settings, and integrations.
Member
Can work on projects and campaigns. Cannot manage team or settings.
Learn more about roles and permissions
Managing Pending Invitations
Track all sent invitations in the Team settings page.
- Go to Settings > Workspace > Team
- Scroll to the Invitations section below the team member list
- Each invitation displays its status: Pending, Accepted, or Revoked
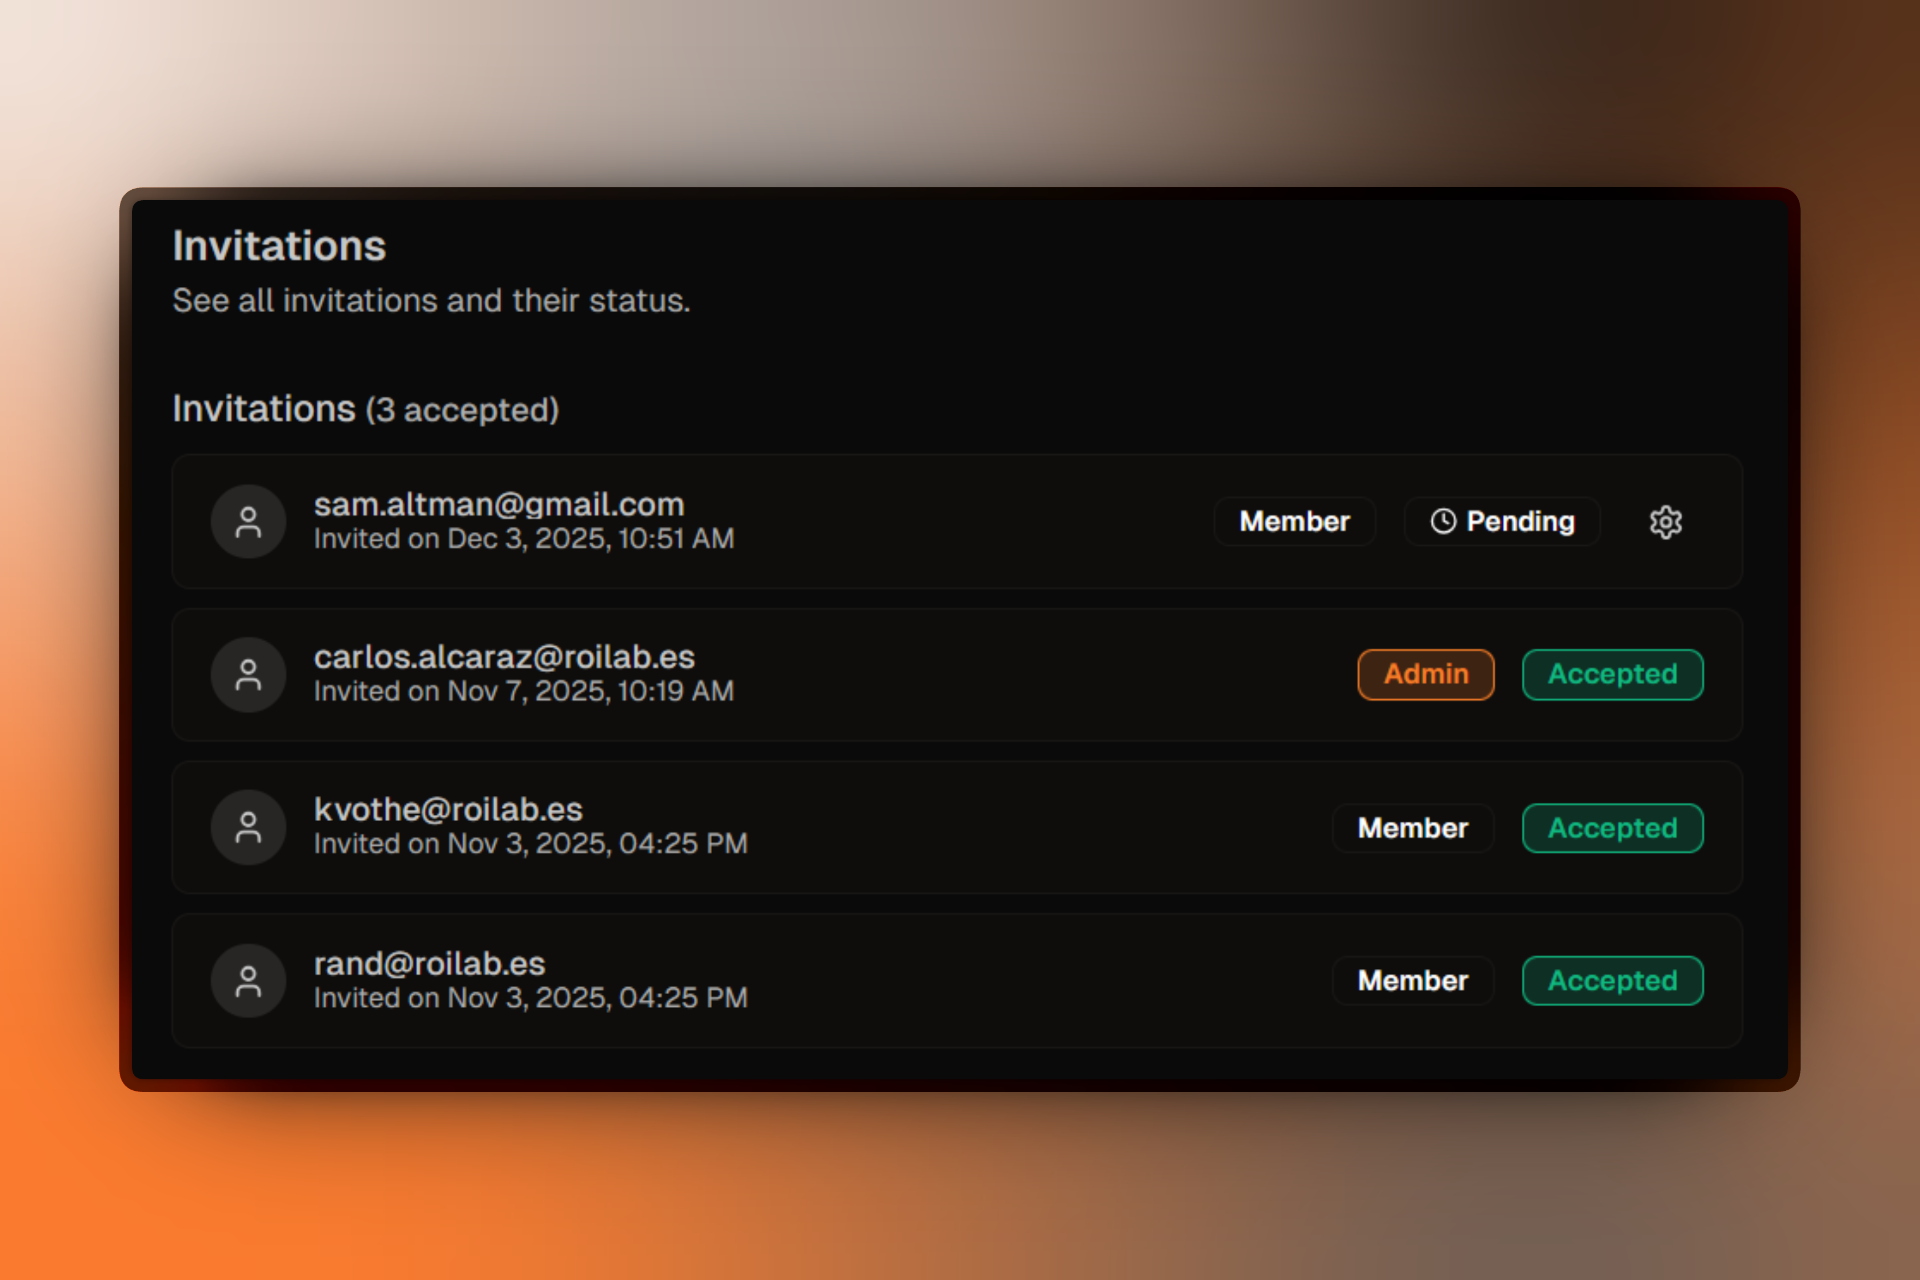
Invitations are displayed 5 per page. Use Previous and Next buttons to navigate.
Revoking Invitations
Cancel pending invitations before the user accepts them.
- Find the invitation in the Invitations section
- Click the settings icon (gear) next to the pending invitation
- Select Revoke Invite from the dropdown menu
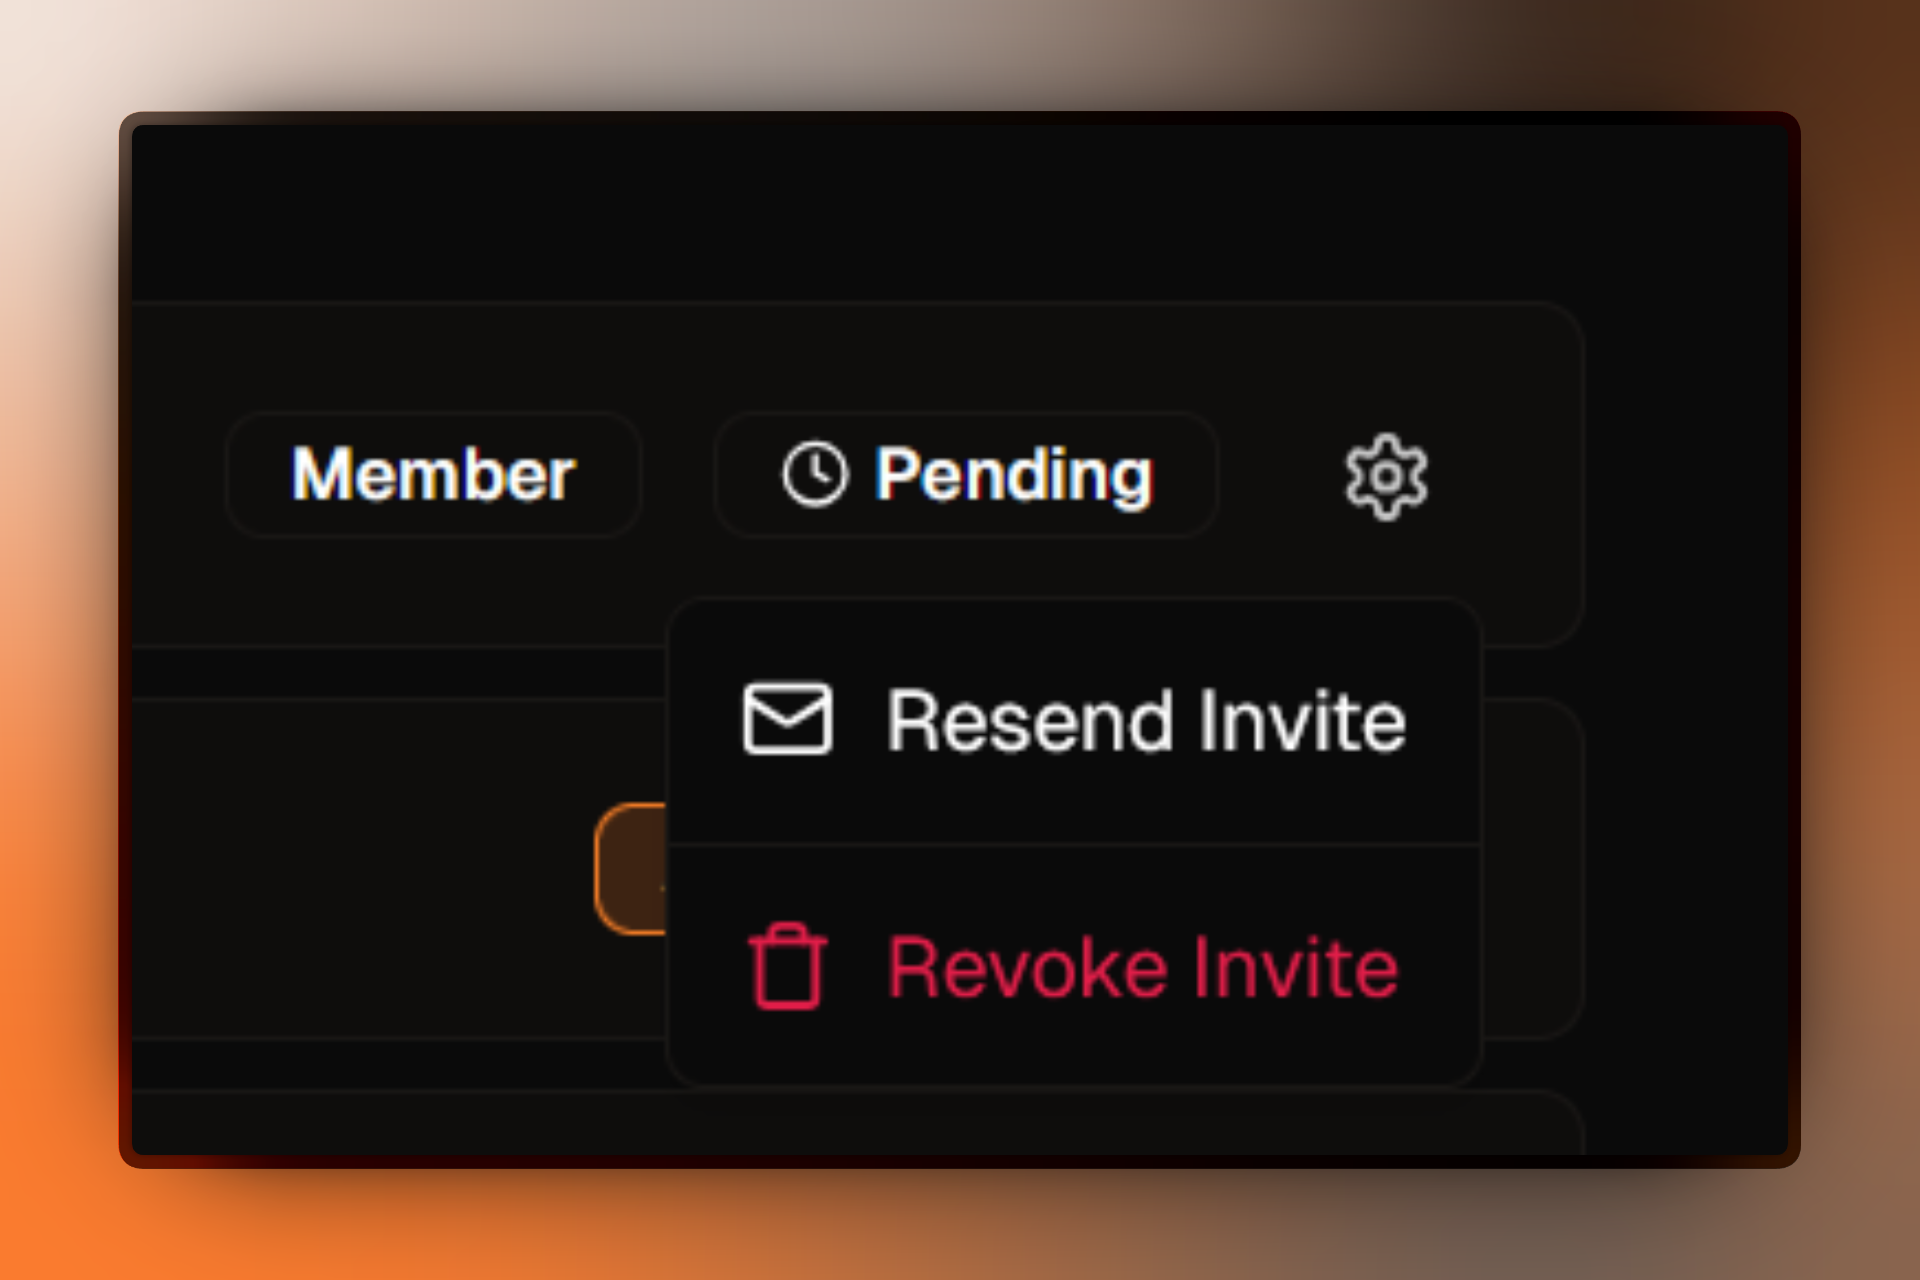
You can also Resend Invite from the same dropdown if the original email was missed.
FAQ
Troubleshooting
For help with invitation problems, see Invitation Issues.