Creating Workspaces
Learn how to create new workspaces to organize your team's work.
Your first workspace is created automatically when you sign up for Firebuzz. This workspace includes everything you need to start building campaigns, complete with AI-powered setup and a default project.
Your First Workspace (Automatic)
When you sign up for Firebuzz, the system automatically creates your first workspace. This happens in seconds and includes:
- Workspace named after your account
- Default project called "Untitled Project"
- Random subdomain for instant publishing
- 14-day free trial to explore all features
No manual setup required - you can start creating campaigns immediately after signing up.
The Onboarding Process
When you access a new workspace for the first time—whether after signup or creating one manually—Firebuzz launches the AI onboarding wizard to configure your environment.
Step 1: Provide Your Brand Information
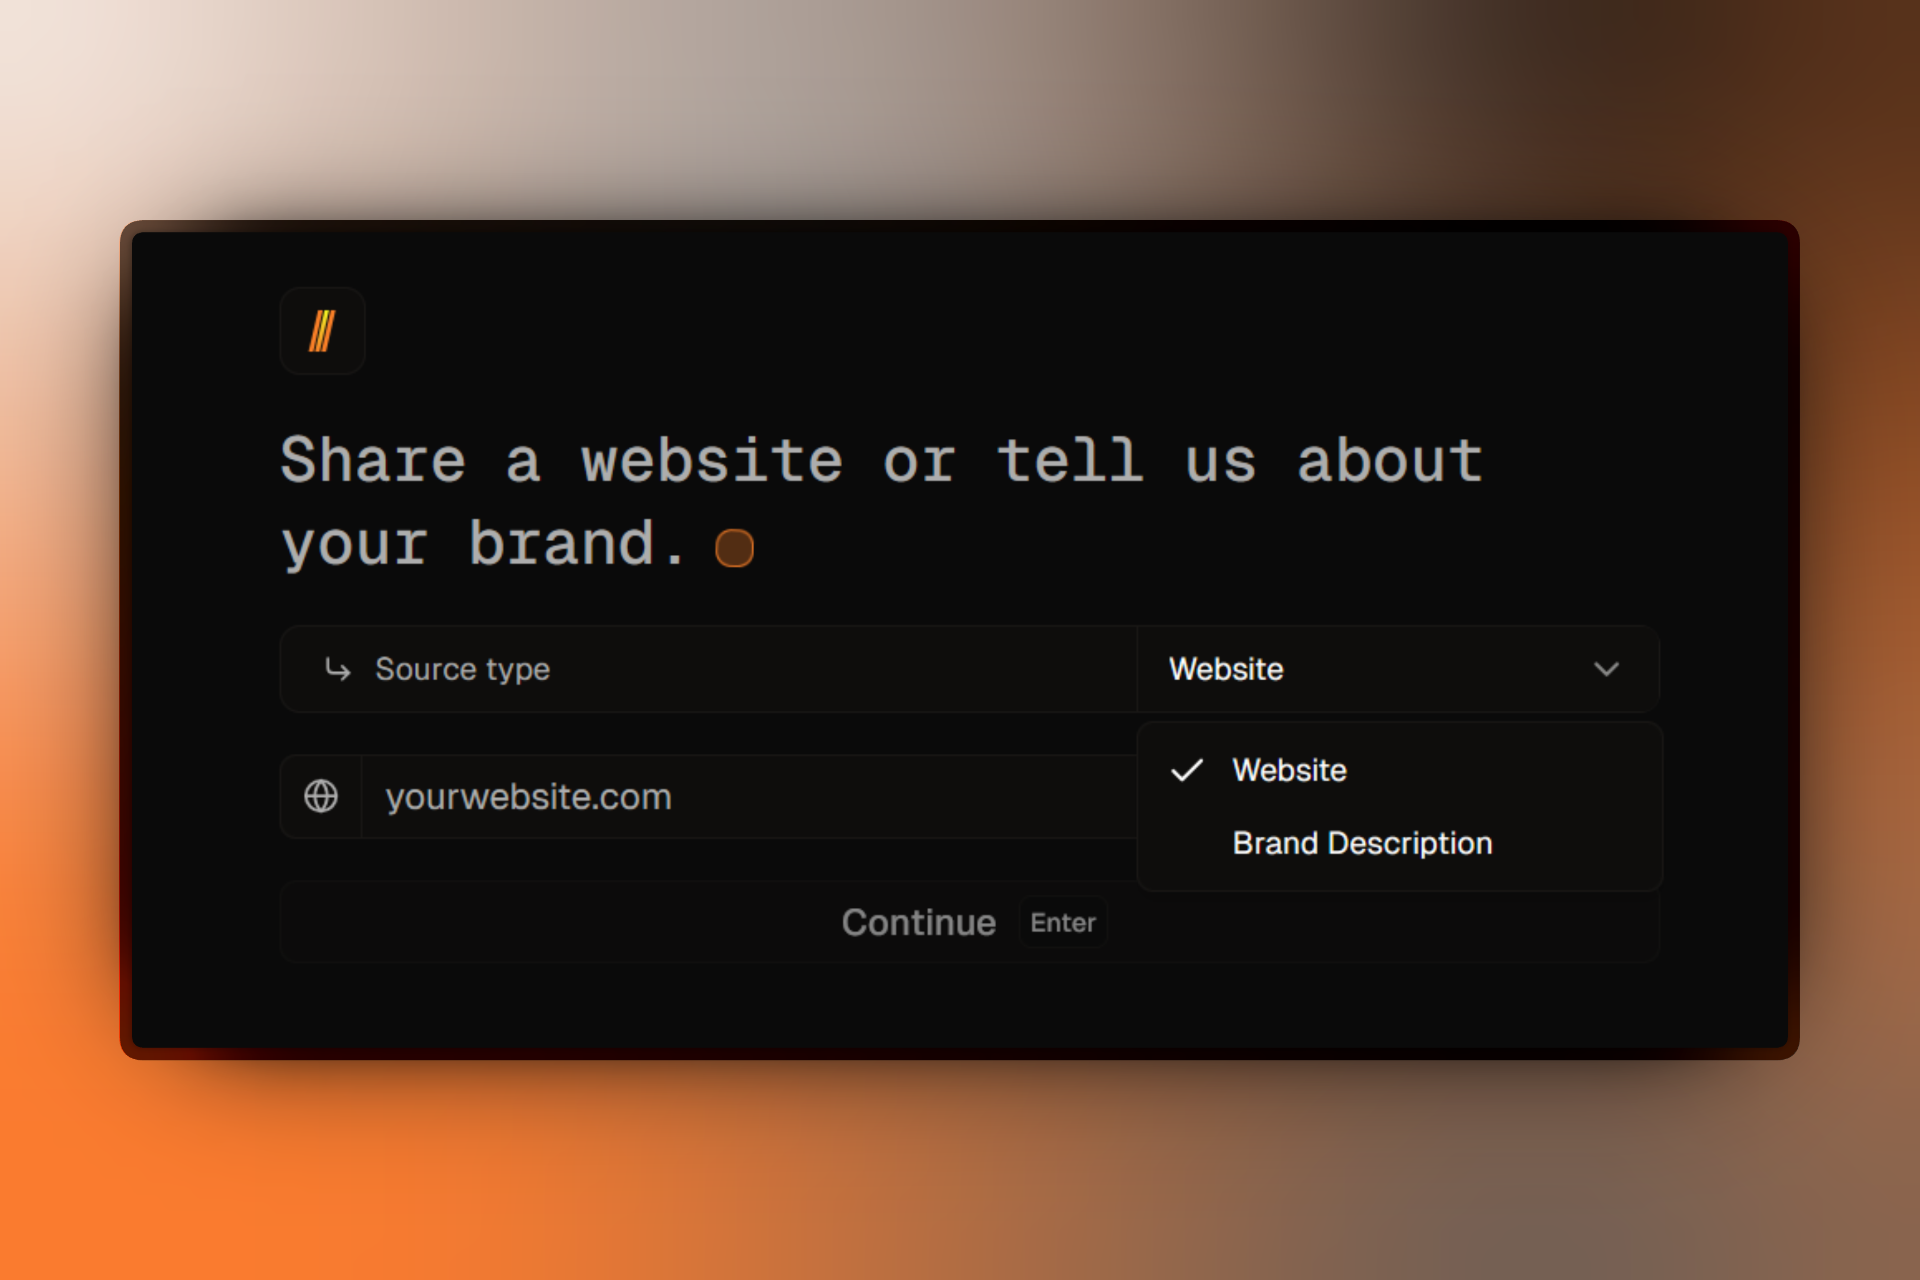
You'll be asked to provide one of the following:
-
Your website URL (recommended)
- Enter your company or brand website
- AI will analyze your site and extract brand colors, fonts, and style
- Takes 30-60 seconds to process
-
Text description of your brand
- If you don't have a website yet, describe your brand in a few sentences
- Include information about your industry, target audience, and style preferences
- AI will generate brand assets based on your description
Best results with website URL
Providing your website URL gives AI the best context for generating brand-consistent assets like colors, fonts, and copy styles. If your site isn't live yet, a detailed text description works too.
Step 2: AI Workspace Setup
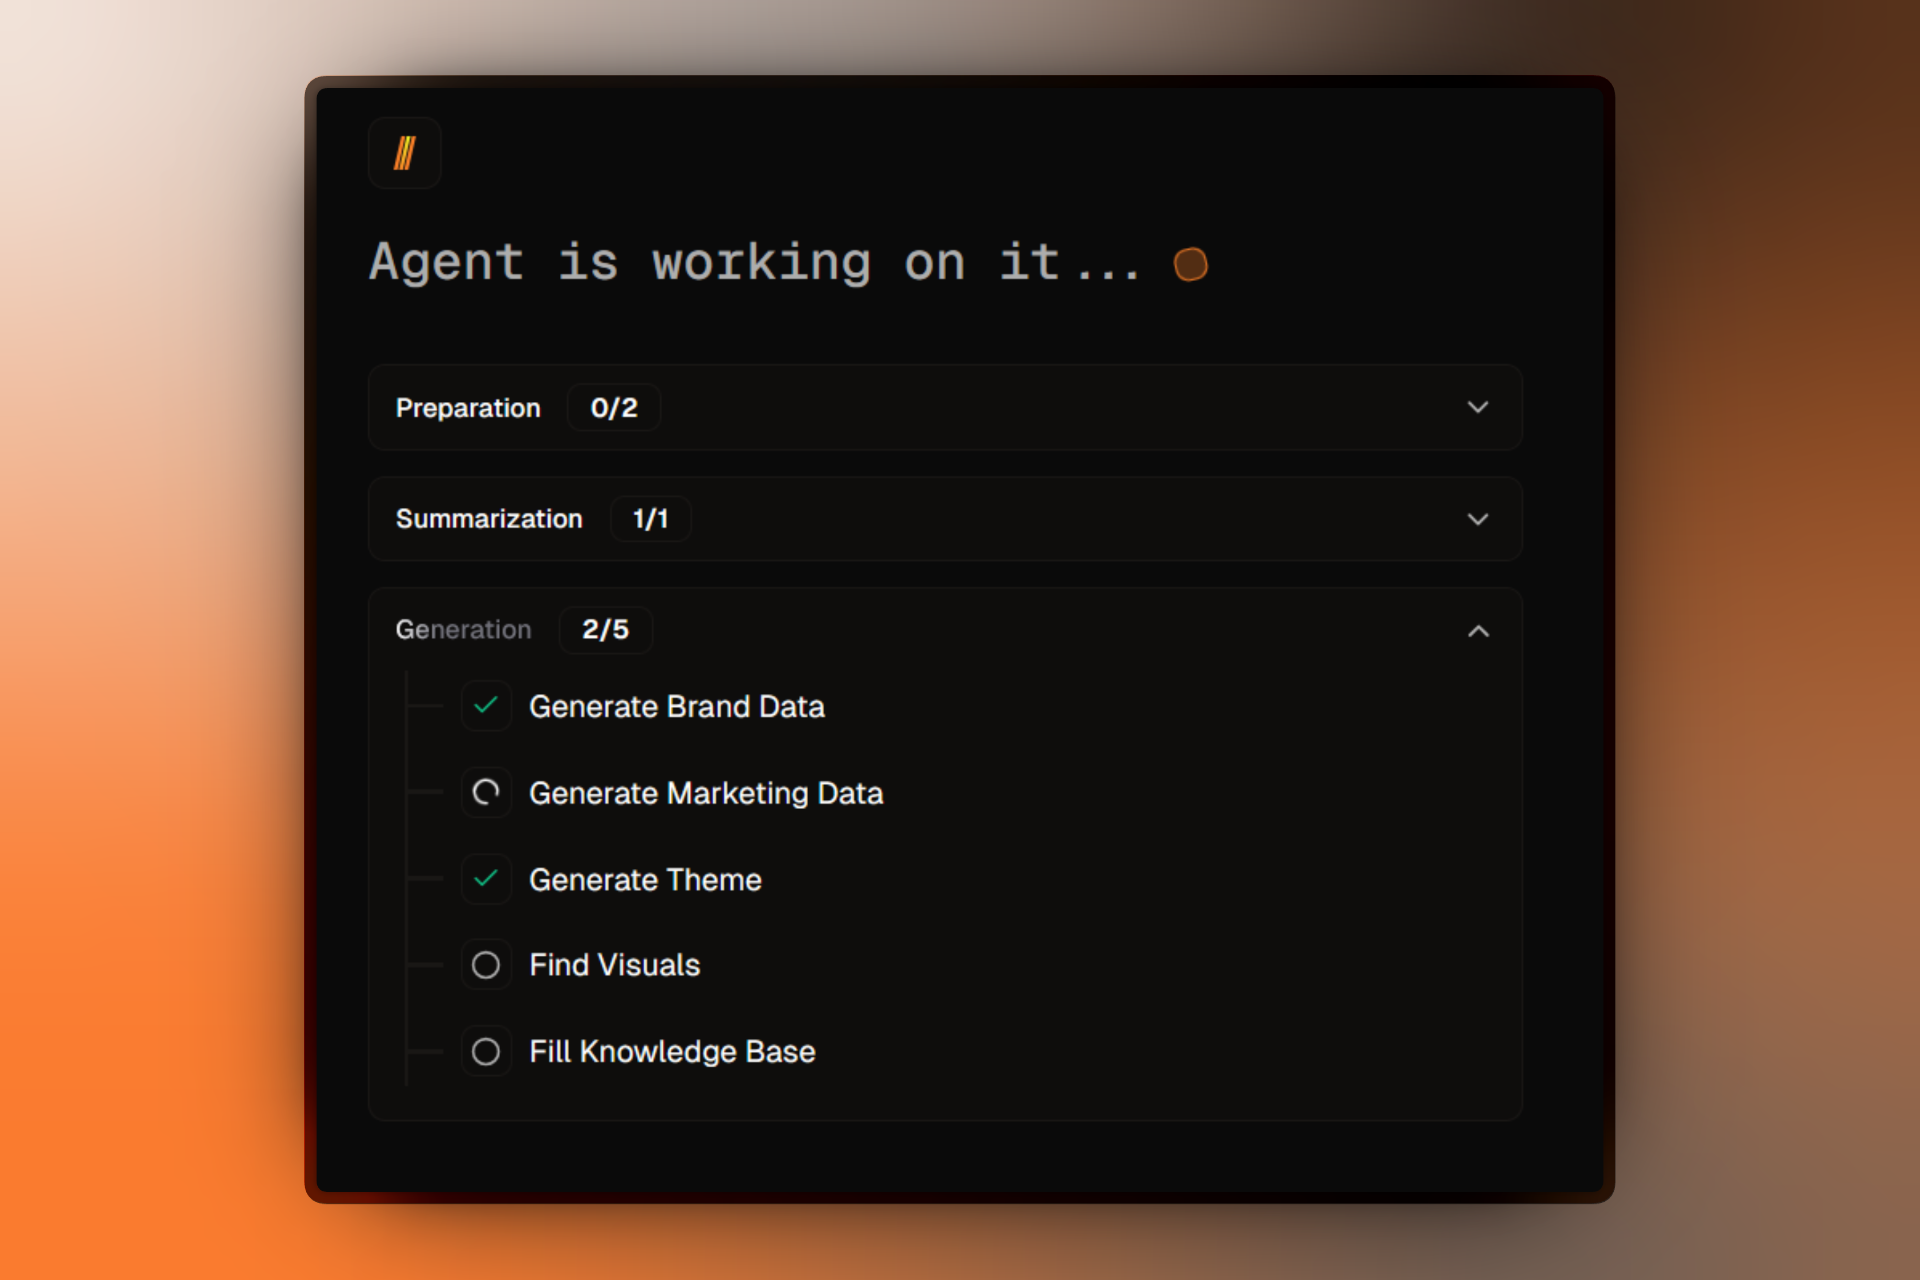
Once you provide your brand information, Firebuzz's AI automatically:
- Analyzes your brand - Extracts colors, fonts, and visual style
- Generates assets - Creates templates and copy suggestions
- Configures themes - Sets up your brand theme for campaigns
- Creates first project - Initializes "Untitled Project" with random subdomain
- Sets up first campaign - Creates starter campaign called "First Campaign"
This process takes 1-2 minutes and you can watch real-time progress as AI works.
Step 3: Choose Your Plan
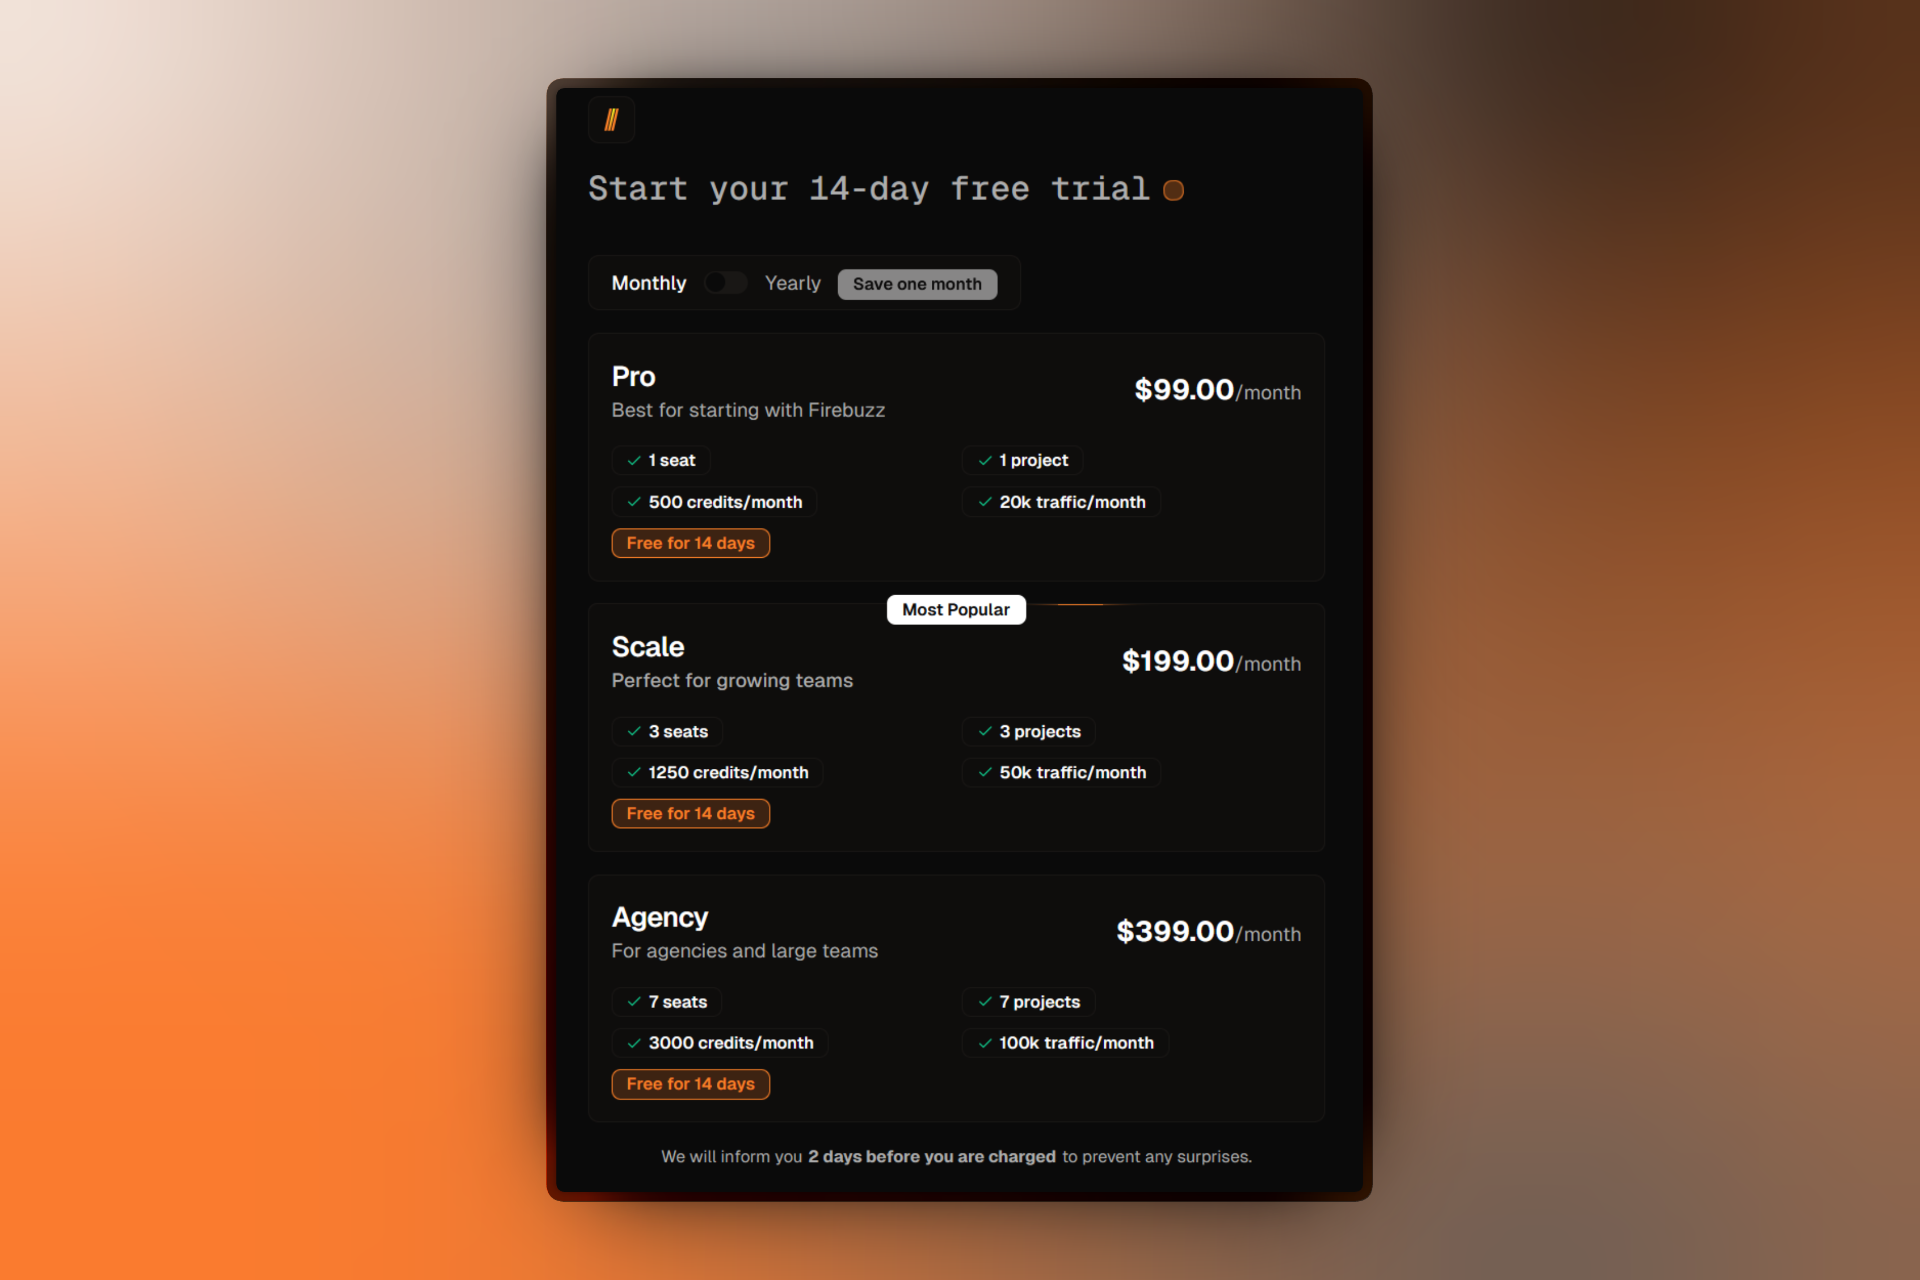
After AI finishes setting up your workspace, select a subscription plan:
- Pro - For individuals and small teams
- Scale - For growing marketing teams (Most Popular)
- Agency - For agencies and enterprises
All plans include a 14-day free trial with no charges during the trial period. You'll add a credit card, but you won't be charged until the trial ends.
View detailed pricing comparison →
Your workspace is ready!
After selecting your plan, you'll land on your dashboard with:
- Workspace configured with your brand
- Default project ready for campaigns
- "First Campaign" created as a starting point
- Everything you need to start building landing pages
Creating Additional Workspaces
Each Firebuzz account can have multiple workspaces. This is useful for:
- Separating client work (agencies)
- Managing different brands or companies
- Creating isolated environments for testing
- Organizing by department or business unit
To create another workspace:
- Click your workspace name in the top-left corner of the sidebar
- Select Switch Workspace
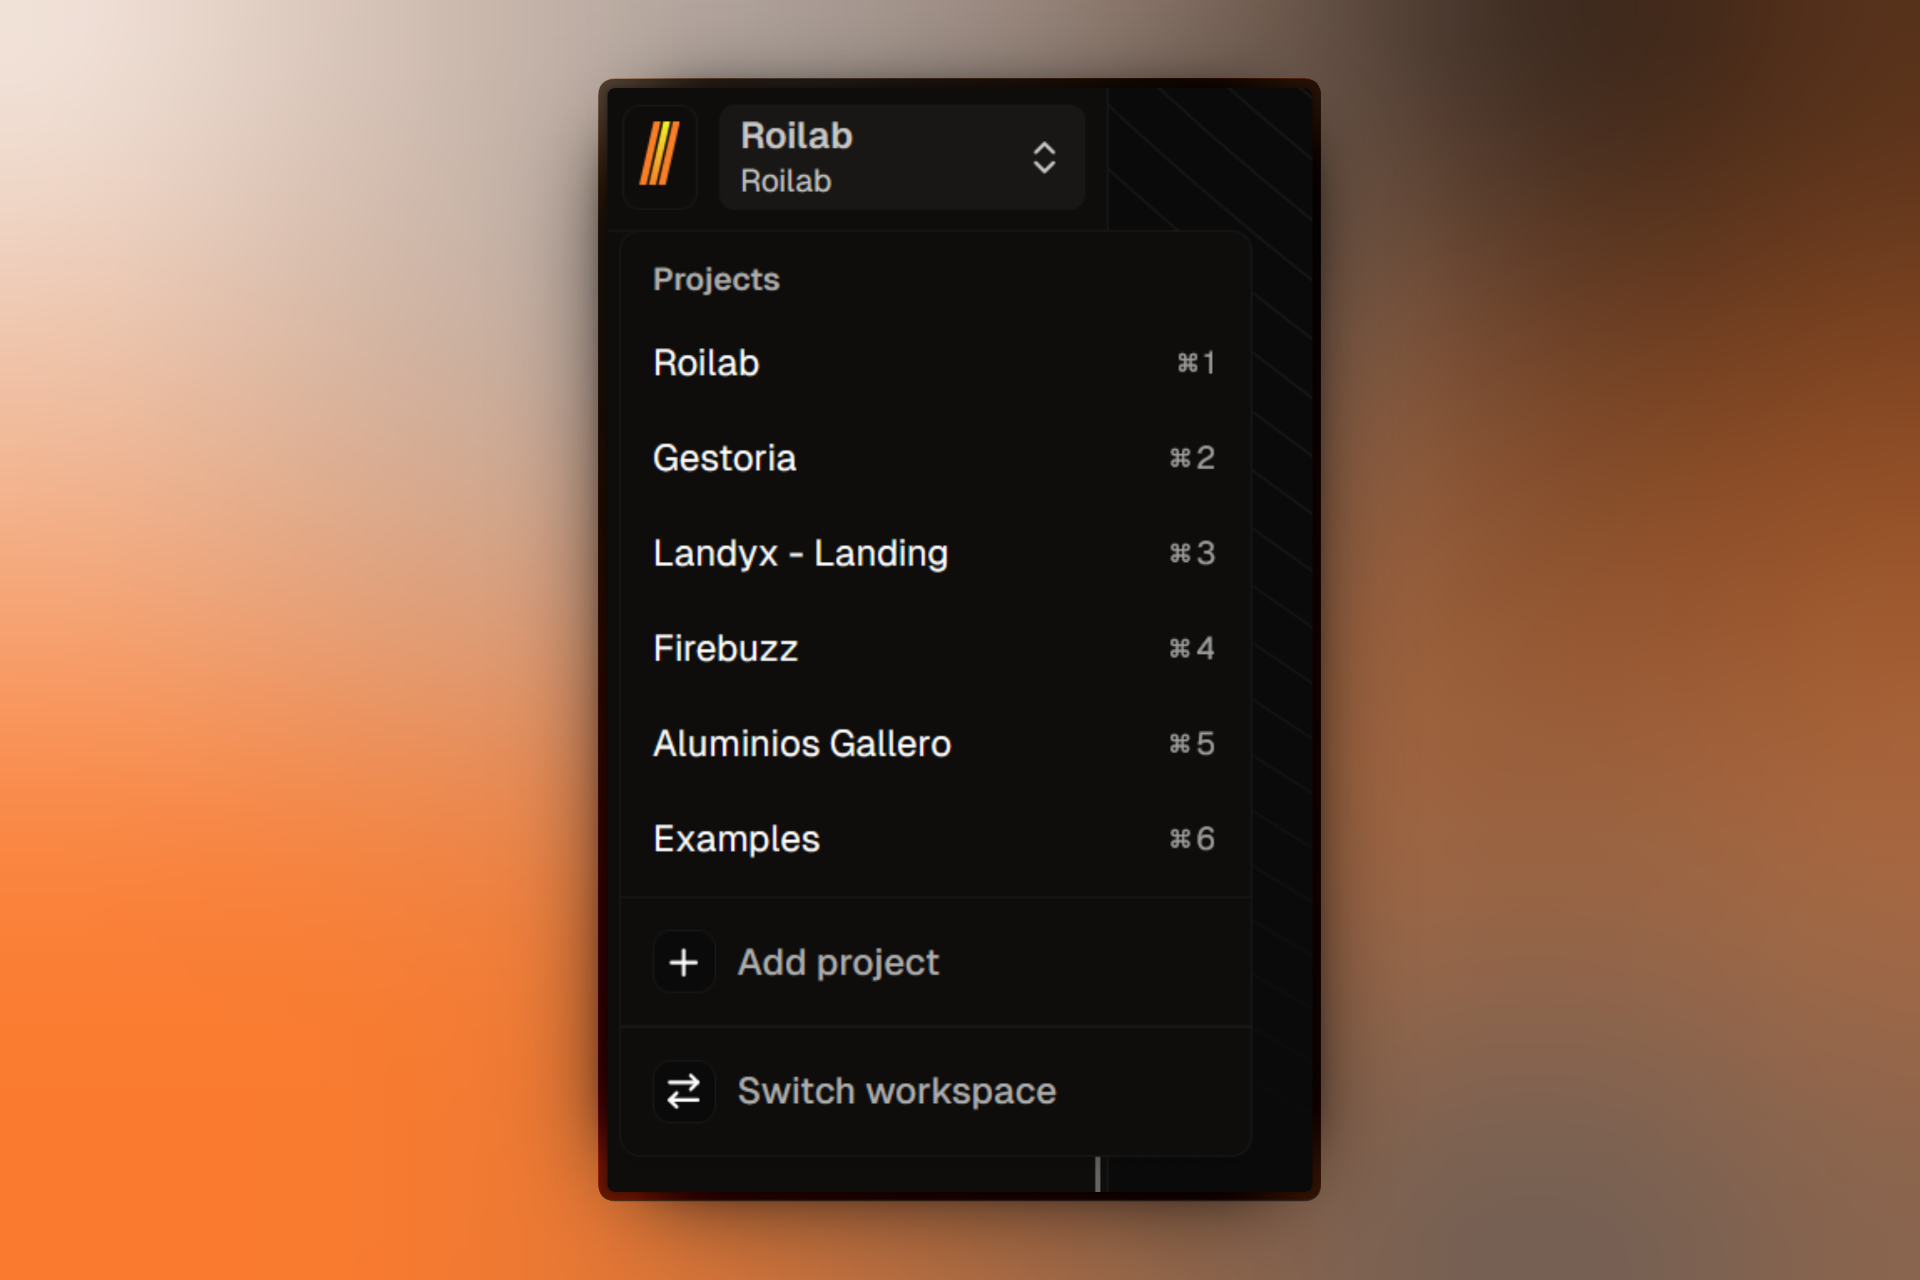
- Click Create Workspace
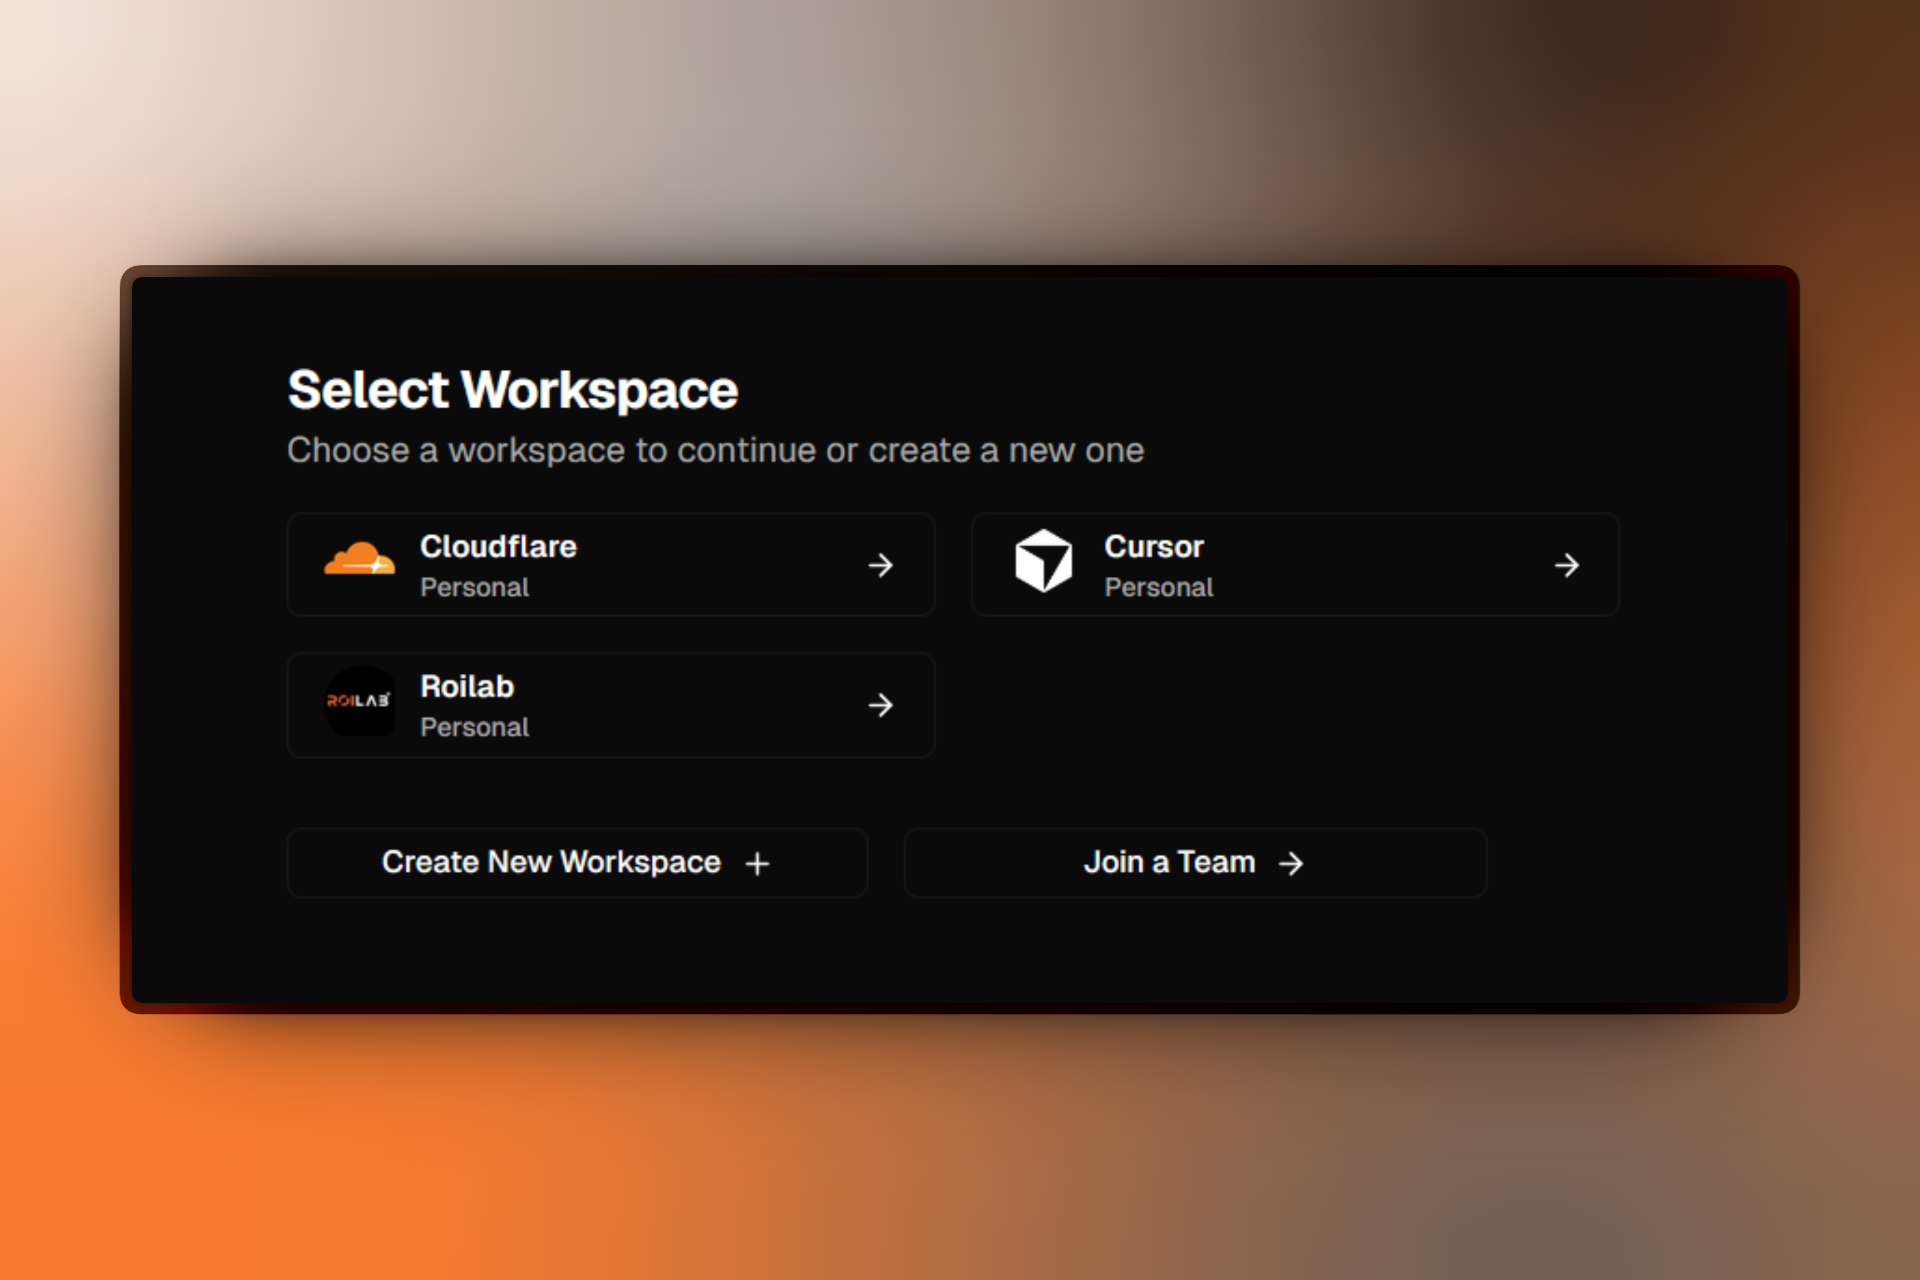
- Enter a Name for your new workspace
- You'll be redirected to the Onboarding Wizard to provide known brand details (see The Onboarding Process above)
- Let AI configure the new workspace
Each workspace has:
- Separate billing and subscription
- Independent team members and permissions
- Own projects, campaigns, and brand assets
- Isolated analytics and data
Separate billing per workspace
Each workspace requires its own subscription plan and has separate billing. If you need to organize work without separate billing, use Projects within a single workspace instead.
What Happens After Workspace Creation
Once your workspace is created (either automatically at signup or manually for additional workspaces), you'll have:
Default Project Created
A default project is automatically created with:
- Random subdomain for publishing (e.g.,
my-project-abc123.frbzz.com) - Default project settings
- Ready to hold campaigns and landing pages
You can rename this project or create additional projects anytime.
Learn about managing projects →
Brand Theme Configured
If you provided a website URL, AI extracts and configures:
- Primary and secondary brand colors
- Font preferences and typography
- Visual style and design patterns
- Copy tone and messaging style
These brand settings apply automatically to new landing pages and campaigns.
Trial Period Started
Your 14-day free trial begins immediately:
- Full access to all features in your plan
- No charges during trial period
- Can cancel anytime before trial ends
- Automatic conversion to paid plan after trial
Learn about billing and subscriptions →
Workspace Limits
Each workspace has limits based on your subscription plan:
| Feature | Pro | Scale | Agency |
|---|---|---|---|
| Team Members | 1 | 3 | 7+ |
| Projects | 5 | 20 | Unlimited |
| Campaigns | 20 | 100 | Unlimited |
| Landing Pages | 50 | 500 | Unlimited |
| Monthly Visitors | 20K | 50K | 100K+ |
View complete plan comparison →
Need more capacity?
If you exceed your plan limits, you can upgrade to a higher tier or purchase add-ons for extra seats and projects. Contact support for custom enterprise plans with higher limits.
FAQ
Troubleshooting
For common issues with workspace creation and setup, see Workspace Creation Issues.
Related Resources
Workspace Management:
- Workspace Settings - Configure workspace preferences
- Switching Between Workspaces - Navigate multiple workspaces
- Inviting Team Members - Add collaborators
Getting Started:
- Quickstart Guide - Build your first campaign in 5 minutes
- Core Concepts - Understand workspaces, projects, and campaigns
- Creating Projects - Organize campaigns within workspaces
Billing & Plans:
- Managing Subscriptions - Change plans and manage billing
- Pricing Plans - Compare plan features and pricing
- Billing Troubleshooting - Resolve subscription problems