Creating Segments
Step-by-step guide to creating and configuring audience segments in your campaigns.
Segments let you split your traffic and deliver targeted experiences to different visitor groups. Follow this guide to create and configure segments in your campaign.
Adding a New Segment
From the Traffic Node
- Open your campaign in the Flow Builder
- Select or hover over the Traffic node
- Click the button below the node
- A new segment is created and automatically connected
Default Segment Configuration
New segments start with:
- Title: "New Segment"
- Description: "Split traffic for different audiences"
- No targeting rules (matches all visitors)
- No primary landing page assigned
Configuring Your Segment
When you select a segment, the configuration panel opens on the right. Here's what you can customize:
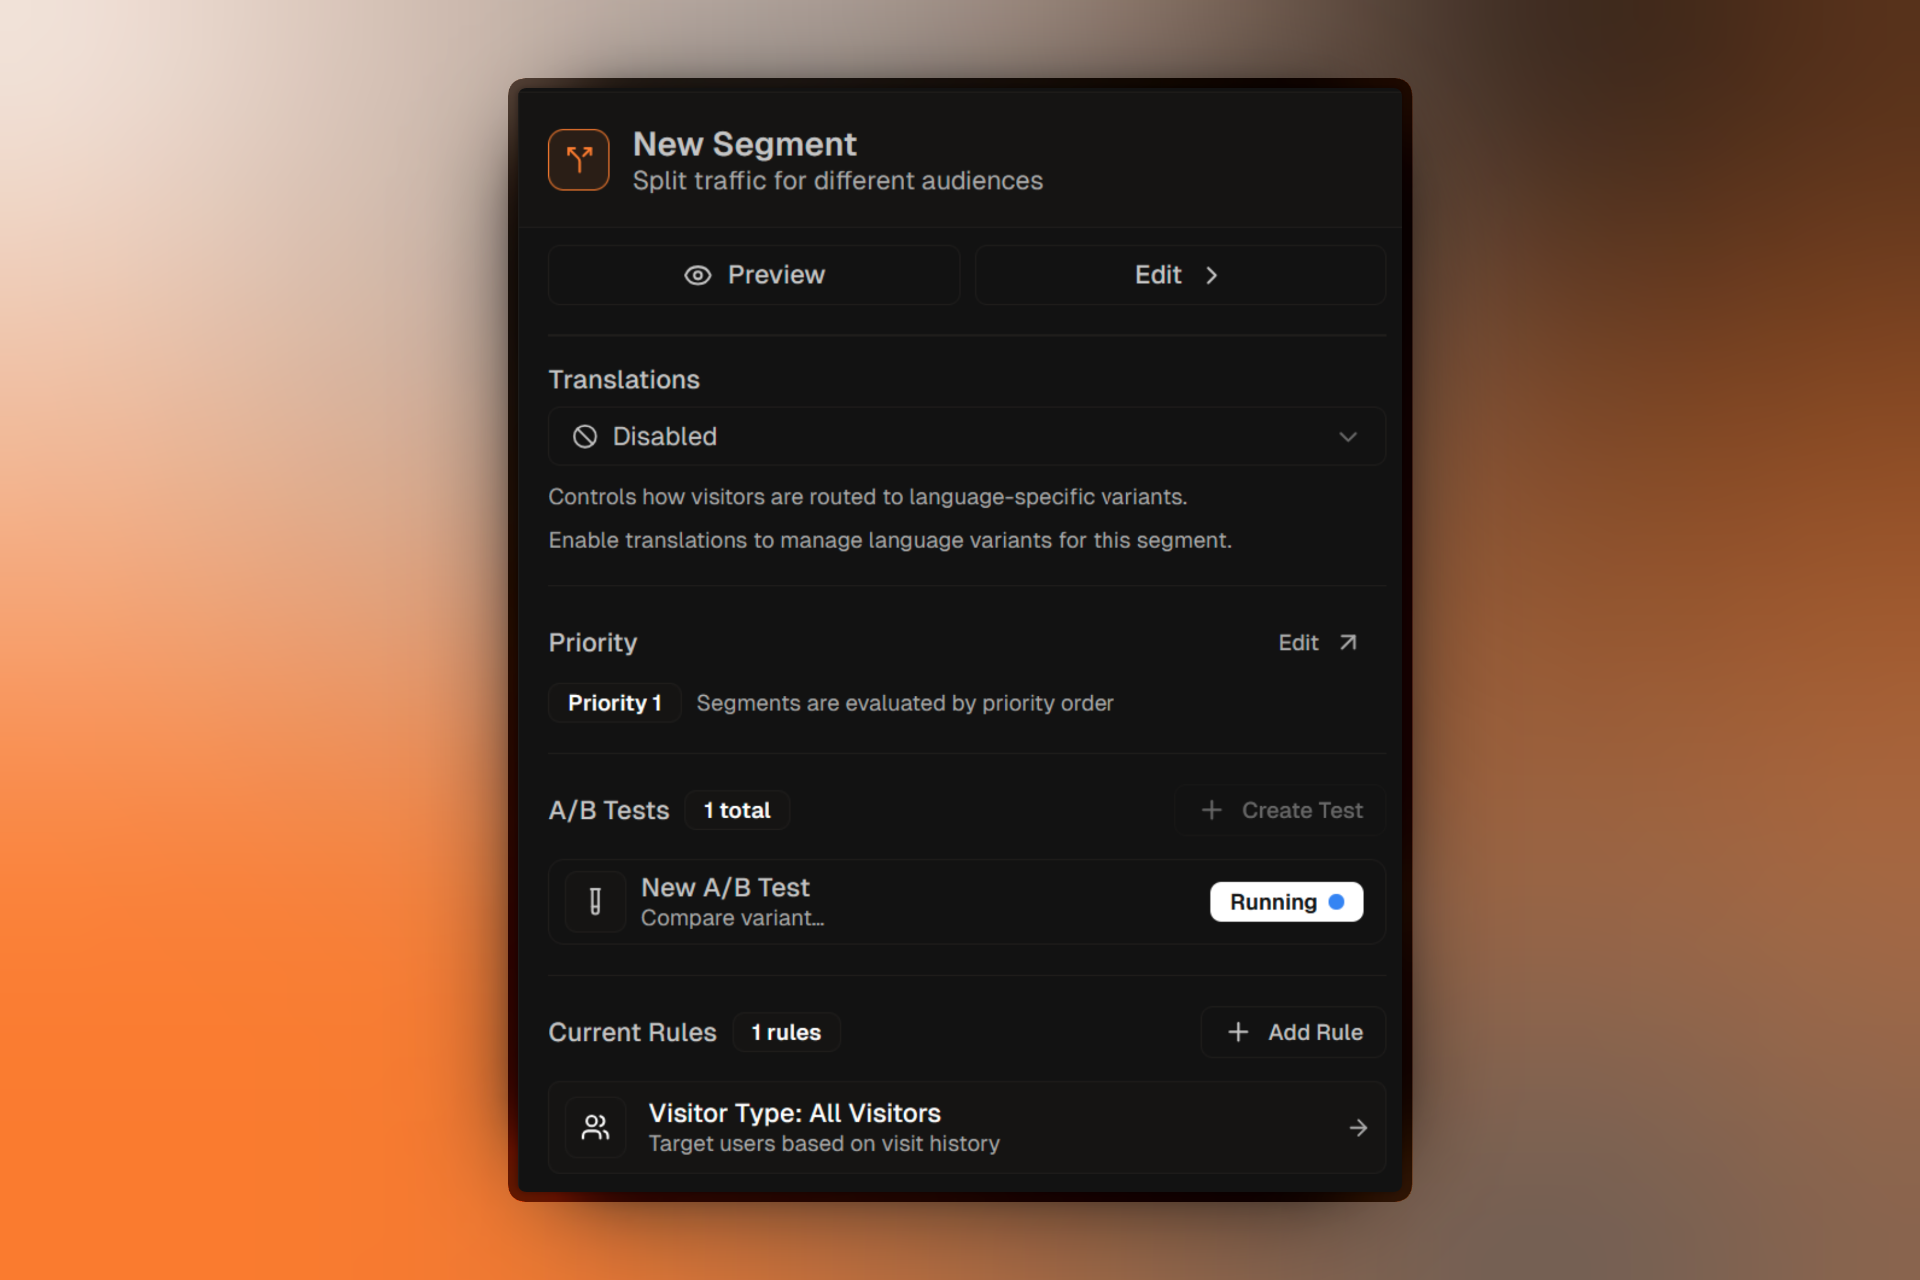
Basic Information
Title:Give your segment a descriptive name that explains who it targets.
Description:Add context for your team about this segment's purpose.
Targeting Rules
The core of a segment is its targeting rules. Click Add Rule to start defining who matches this segment.
A segment with no rules matches all visitors. Use this for your fallback "Everyone Else" segment.
See Targeting Rules for the complete list of available rules.
Rule Logic
When you have multiple rules, choose how they combine:
- All (AND) — Visitor must match every rule
- Any (OR) — Visitor must match at least one rule
For detailed examples of combining rules, see Targeting Rules Reference.
Primary Landing Page
Select a landing page that visitors see when:
- No A/B test is active in this segment
- They're assigned to this segment but the A/B test is paused
If no primary landing page is set and no A/B test is running, visitors in this segment will see an error. Always configure a primary landing page.
Translations (Optional)
For multi-language campaigns, configure translations:
- Enable Translation Mode
- Choose translation strategy:
- Auto — Automatically detect visitor language
- Manual — Specify which languages to support
- Add translated landing pages for each language
Segment Priority
Viewing Priority Order
In the campaign overview or traffic panel, segments are listed in priority order. The segment at the top is checked first.
Changing Priority
Drag and drop segments to reorder them. Higher priority segments should have more specific rules.
Recommended order:
- Most specific rules (e.g., "Mobile users from US that came from Facebook Ad")
- Medium specificity (e.g., "Mobile users from US")
- Broad rules (e.g., "All mobile users")
- Fallback segment with no rules (e.g., "Everyone else")
Best Practices
Name Clearly
Use descriptive names like "Mobile - Facebook Traffic" instead of "Segment 1"
Start Specific
Put your most specific segments first in priority order
Always Have a Fallback
Create a final segment with no rules to catch all remaining visitors
Test Your Rules
Use preview mode to verify visitors are being routed to the correct segments
Deleting Segments
You can delete a segment if:
- It has no running or paused A/B tests
- You cannot delete segments with active experiments
To delete:
- Select the segment
- Click the trash icon in the segment header
- Confirm the deletion
Deleting a segment also removes any A/B tests and variants inside it. This action cannot be undone.