Working with Nodes
Learn how to add, connect, configure, and delete nodes in the Flow Builder canvas.
The Flow Builder canvas is where you design your campaign's customer journey. By adding and connecting different types of nodes, you can create complex targeting and testing logic with ease.
Canvas Manipulation
The canvas uses an intuitive drag-and-drop interface. You can pan, zoom, and arrange nodes to visualize your marketing flow exactly as it will function for your visitors.

Adding Nodes
Nodes are designed to be added sequentially, following the flow of traffic from entry to landing page.
Adding Segments
To add a segment to your campaign:
- Select the Traffic node or hover over it.
- Click the button that appears below the node.
- A new Segment node is created and automatically connected.
Adding A/B Tests
To add an experiment within a segment:
- Select the Segment node where you want to run the test.
- Click the button below the segment.
- A new A/B Test node is created with two default variants (Control and Variant B) automatically attached.
When you create an A/B Test, Firebuzz automatically sets up a 50/50 traffic split between the two default variants to get your experiment started immediately.
Adding Variants
To test more than two versions in a single experiment:
- Select the A/B Test node.
- Click the button below the test.
- A new Variant node is added, and traffic percentages are automatically redistributed equally across all variants.
Variant Limits:
- Minimum: 2 variants (required for a valid test).
- Maximum: 5 variants per A/B test.
Adding Notes
Notes help you document your strategy directly on the canvas:
- Click the Add Note button in the canvas toolbar.
- Your cursor changes to a crosshair.
- Click anywhere on the canvas background to place the note.
- Type your content and click outside to save.
Right-click anywhere while the crosshair is active to cancel adding the note.
Connecting Nodes
While Firebuzz connects nodes automatically when you use the plus button, you can also manage connections manually.
Manual Connections
- Hover over a node to reveal the connection handles (small circles at the top and bottom).
- Click and drag from a source handle (bottom) to a target handle (top).
- The connection will snap into place if it's valid.
Connection Rules
To ensure your campaign logic is sound, Firebuzz enforces specific connection rules:
| Source Node | Can Connect To |
|---|---|
| Traffic | Segment |
| Segment | A/B Test |
| A/B Test | Variant |
Invalid connections (e.g., connecting a Variant to a Segment) are automatically rejected.
Configuring Nodes
Selecting a node opens its configuration panel on the right. Each node type has unique settings that control your campaign's behavior.
Traffic Node
The entry point for all visitors.
- Default Landing Page — The fallback page shown if no segment rules are matched.
- Segments — A list of attached segments. You can drag and drop to reorder their Priority.
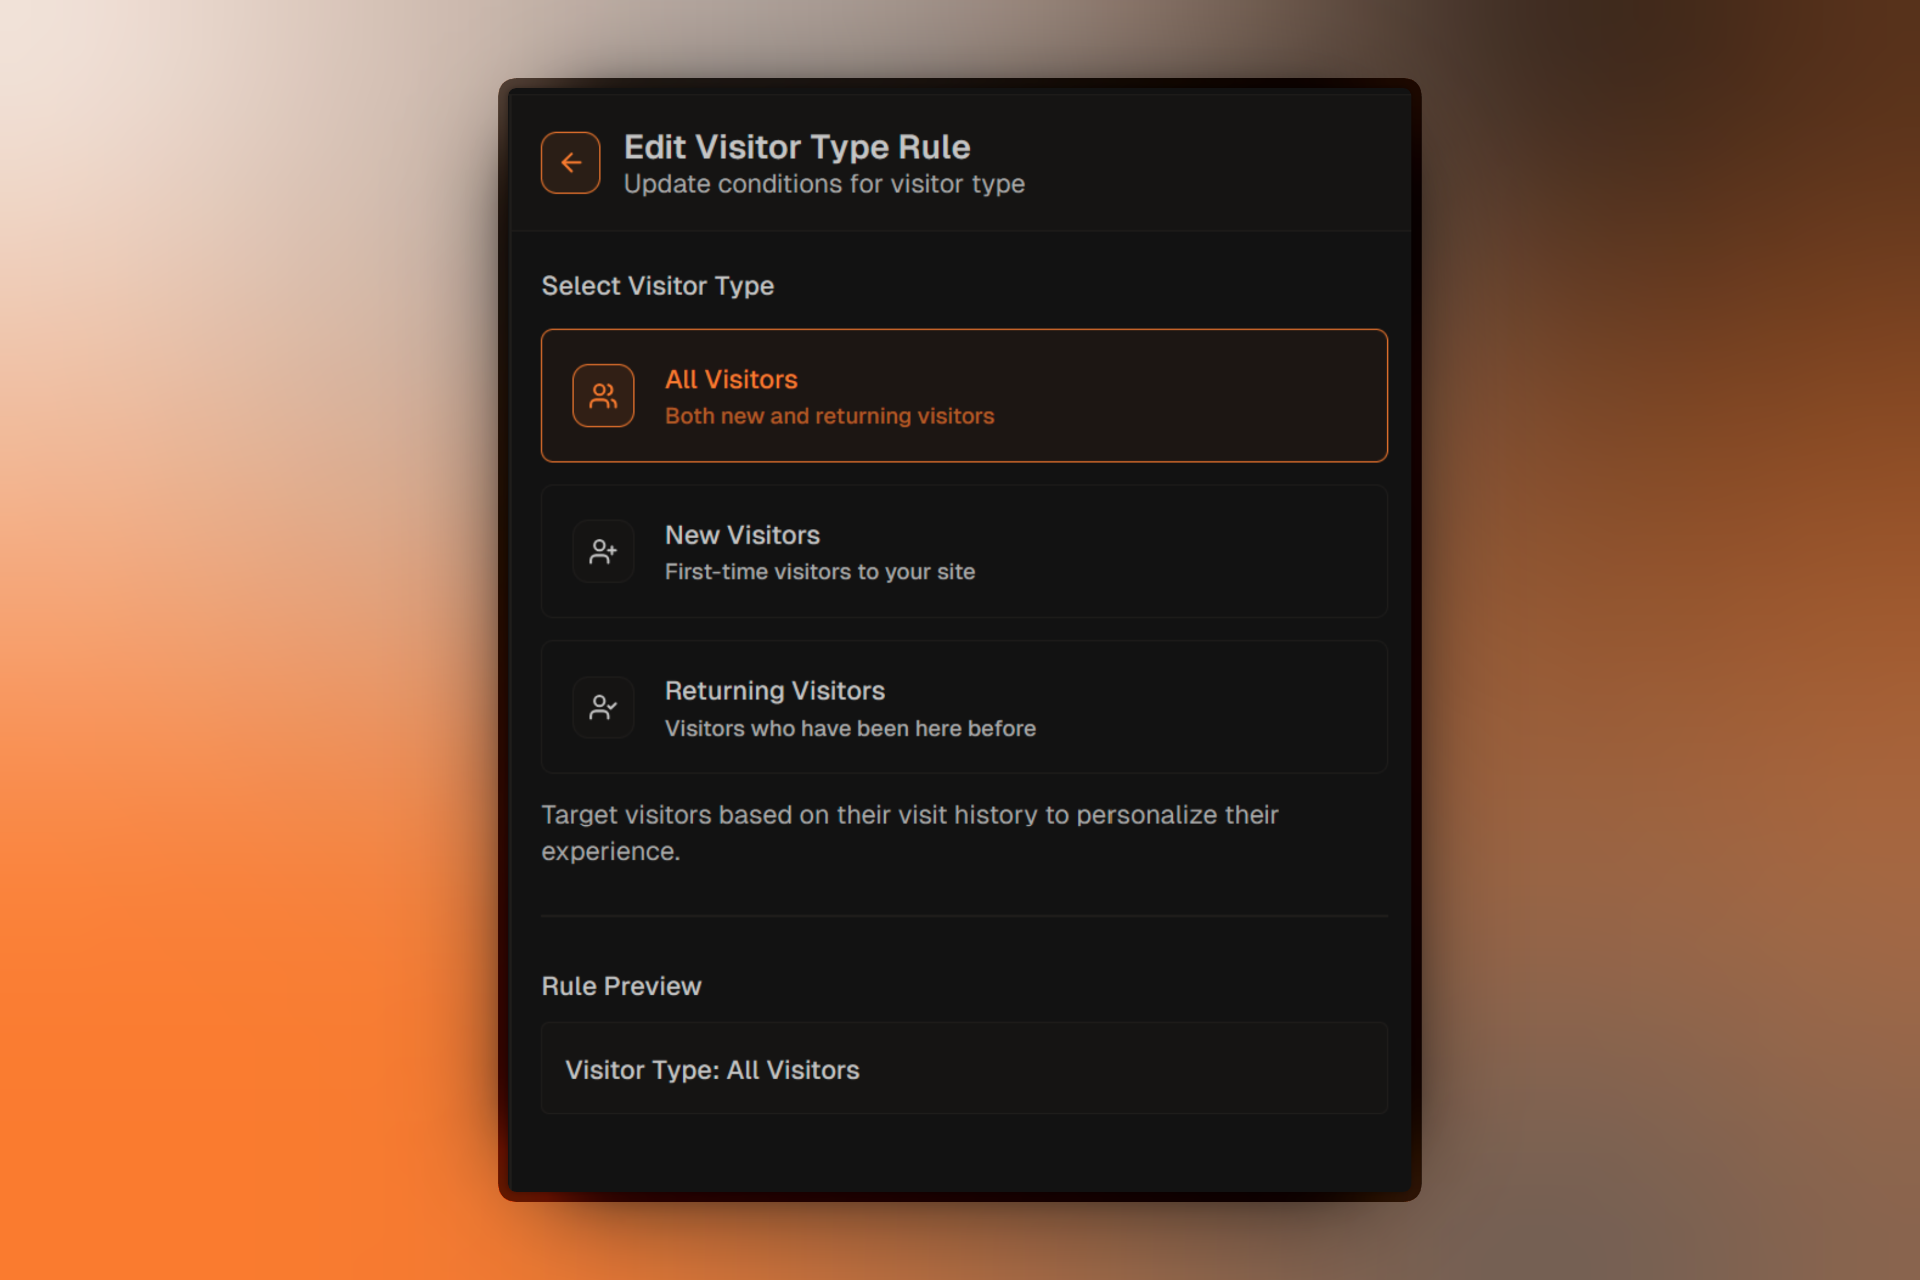
Segment Node
Defines who sees specific content.
- Title & Description — Internal labels for organization.
- Default Landing Page — The page shown when no A/B test is active for this segment.
- Translations — Configure auto-detection or parameter-based language routing.
- Targeting Rules — Set the criteria (Device, Location, etc.) that visitors must meet to enter this segment.
- Priority — View the evaluation order relative to other segments.
A/B Test Node
Manages your experiment lifecycle.
- Title & Hypothesis — Document what you are testing and why.
- Status Controls — Switch between Draft, Running, Paused, and Completed.
- Completion Criteria — Set target sample sizes or durations.
- Confidence Level — The statistical certainty required to declare a winner.
- Primary Goal — The conversion event that determines the winner.
Variant Node
The actual content being tested.
- Title & Description — Labels for identifying the version.
- Landing Page — Select which page to display for this variant.
- Traffic Allocation — View the percentage of test traffic assigned to this variant (edited via the A/B Test panel).
- Performance Metrics — Real-time data including Exposures, Conversions, and Win Probability.
Moving and Selecting
- Single Selection: Click any node to select it and open its configuration.
- Deselection: Click the canvas background to deselect and view the Campaign Overview.
- Movement: Click and drag any node. Nodes snap to a 10x10 grid for clean alignment.
- Panning: Click and drag the background or use your mouse wheel/trackpad to move around the canvas.
- Zooming: Use the scroll wheel or pinch gesture to zoom in and out.
Deleting Nodes
Some nodes are protected to prevent accidental data loss or logic errors.
Deletion Rules
| Node Type | Can Delete? | Restriction |
|---|---|---|
| Traffic | No | Required entry point. |
| Segment | Yes | Not if it contains a running or paused A/B test. |
| A/B Test | Yes | Not while the status is Running or Paused. |
| Variant | Yes | Minimum of 2 variants required. Cannot delete the Control variant. |
| Notes | Yes | Always deletable. |
How to Delete
- Select the node on the canvas.
- Click the icon in the node's header.
- Confirm the deletion in the dialog if prompted.
Validation Indicators
Each node displays a status indicator in its header to help you identify configuration issues:
Valid: Node is properly configured and ready.
Error: Missing required fields or invalid configuration.
Hover over an error indicator to see specific instructions on how to fix the issue.